This article will guide you through the process of changing your WordPress username properly, ensuring the security and integrity of your website.
Before we delve into the process, it's crucial to understand why changing your WordPress username can be important. The default username for WordPress installations is ‘admin', a fact widely known and exploited by hackers. By changing your username, you're adding an extra layer of security to your website, making it harder for unauthorized users to gain access.
Method 1: Create a New User and Delete the Old One
This is the simplest and most straightforward method, especially for those who are not comfortable dealing with database operations.
Step 1: Create a New User
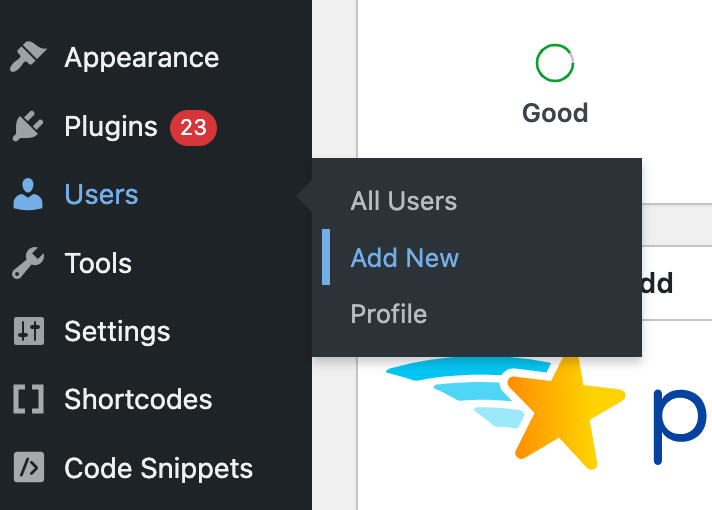
- Log in to your WordPress dashboard.
- Navigate to ‘Users' > ‘Add New'.
- Fill in the required fields, ensuring you use a different email address than the one associated with the account you wish to change.
- Set the ‘Role' dropdown to ‘Administrator'.
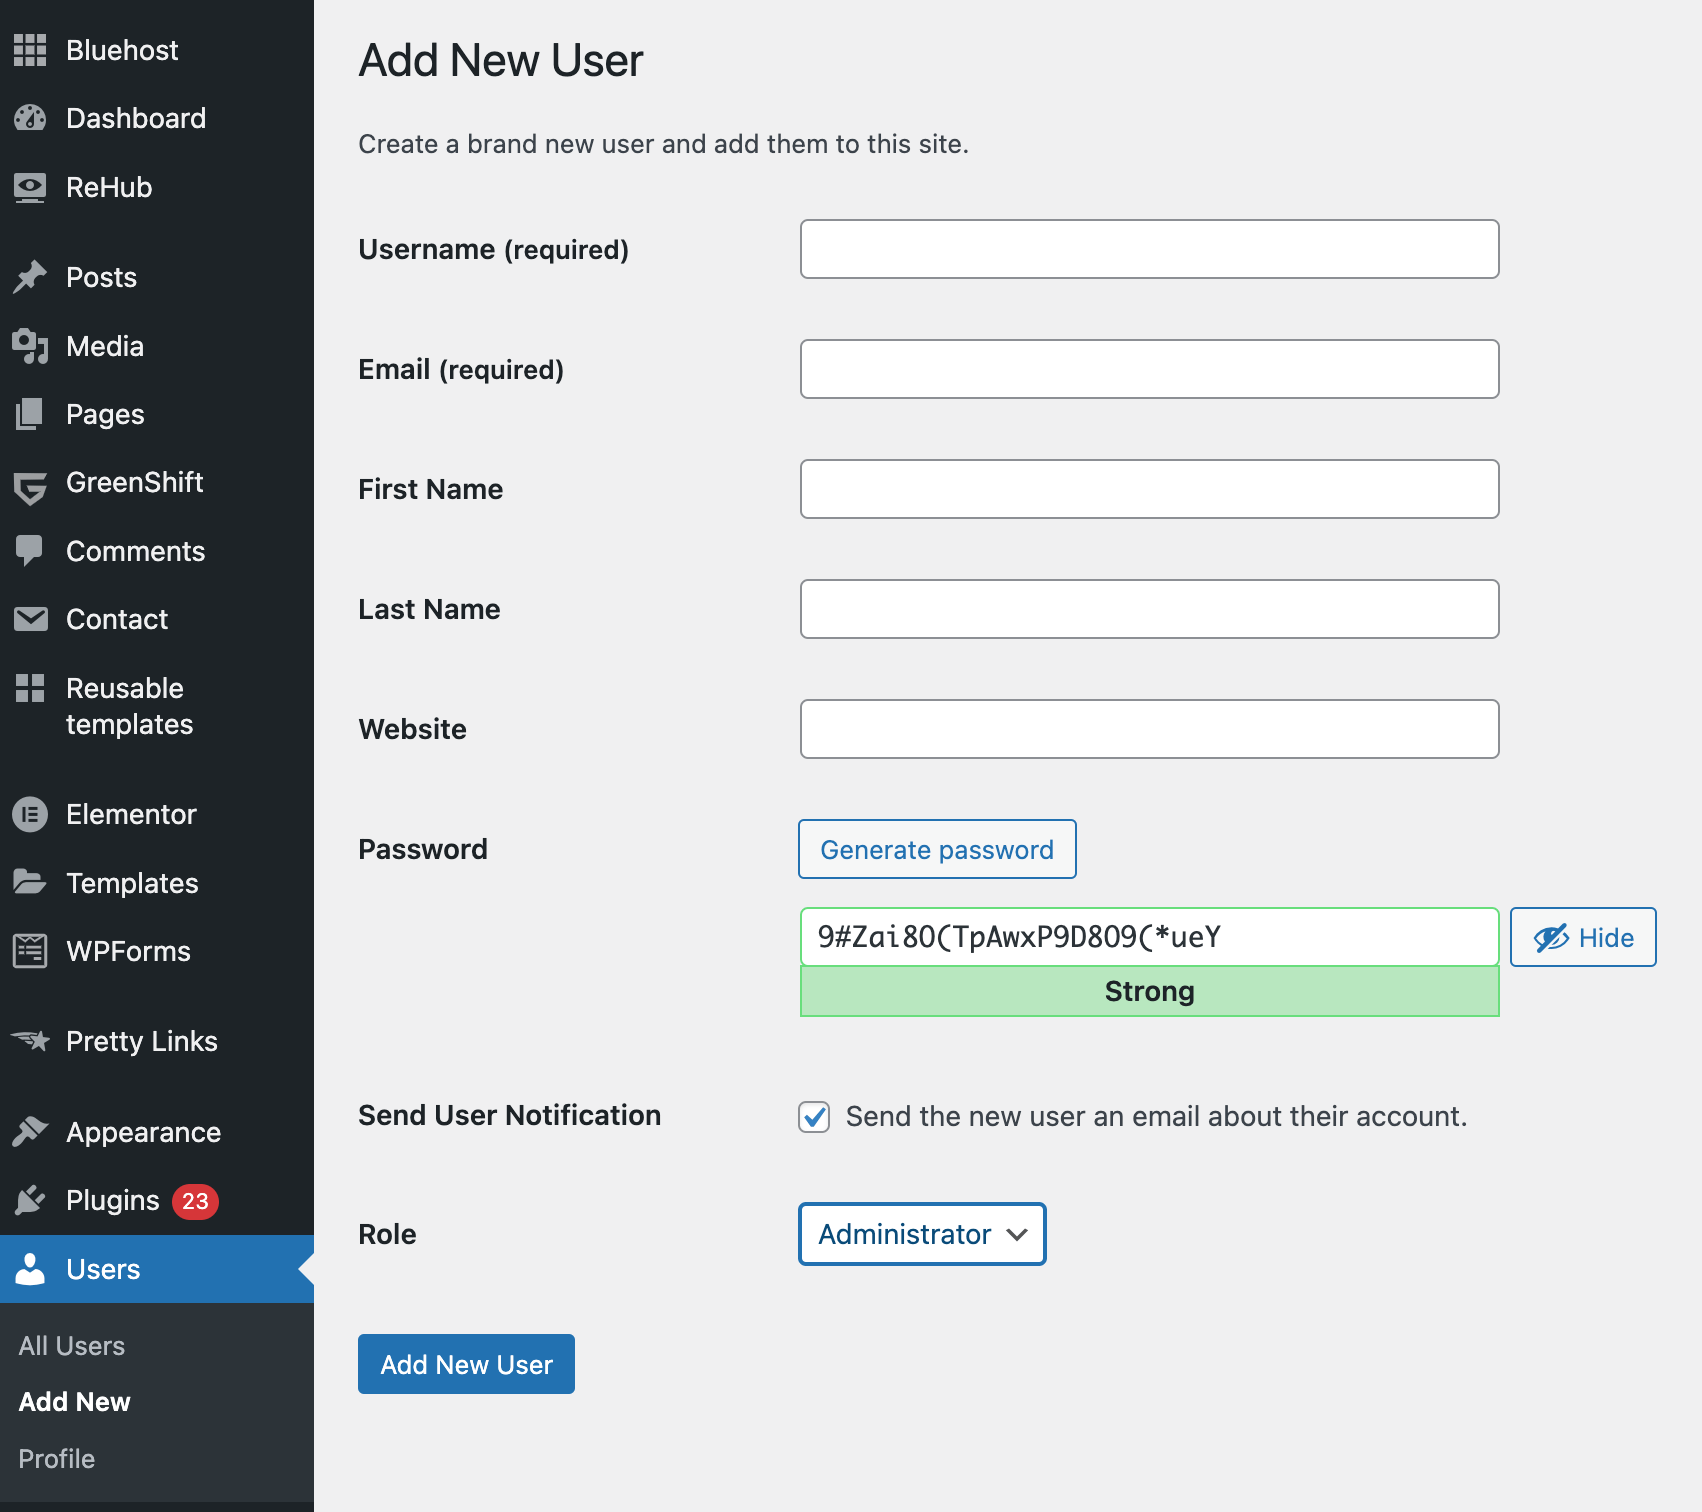
- Click ‘Add New User'.
Step 2: Log Out and Log In as the New User
- Log out of your WordPress account.
- Log back in using the new username and password you just created.
Step 3: Delete the Old User
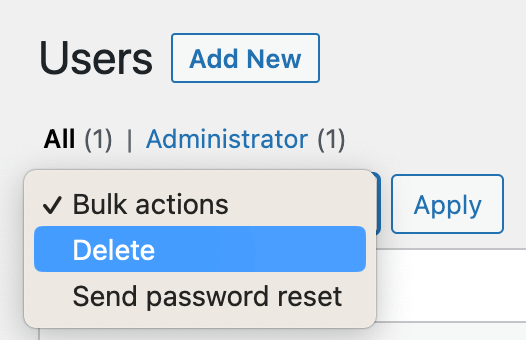
- Navigate to ‘Users'.
- Find the old username, hover over it, and click ‘Delete'.
- WordPress will ask what to do with content owned by the user you're deleting. Choose ‘Attribute all content to:', select your new username from the dropdown, and confirm the deletion.
By the way, if you are looking for a good hosting for WordPress we suggest you check out our ranking: TOP 7 Best WordPress Hosting Providers
Method 2: Change Username Through phpMyAdmin
This method involves interacting directly with your WordPress site's database using phpMyAdmin. It's a bit more technical, but it allows you to change your username without needing to create a new user.
Step 1: Access phpMyAdmin
- Log in to your hosting account.
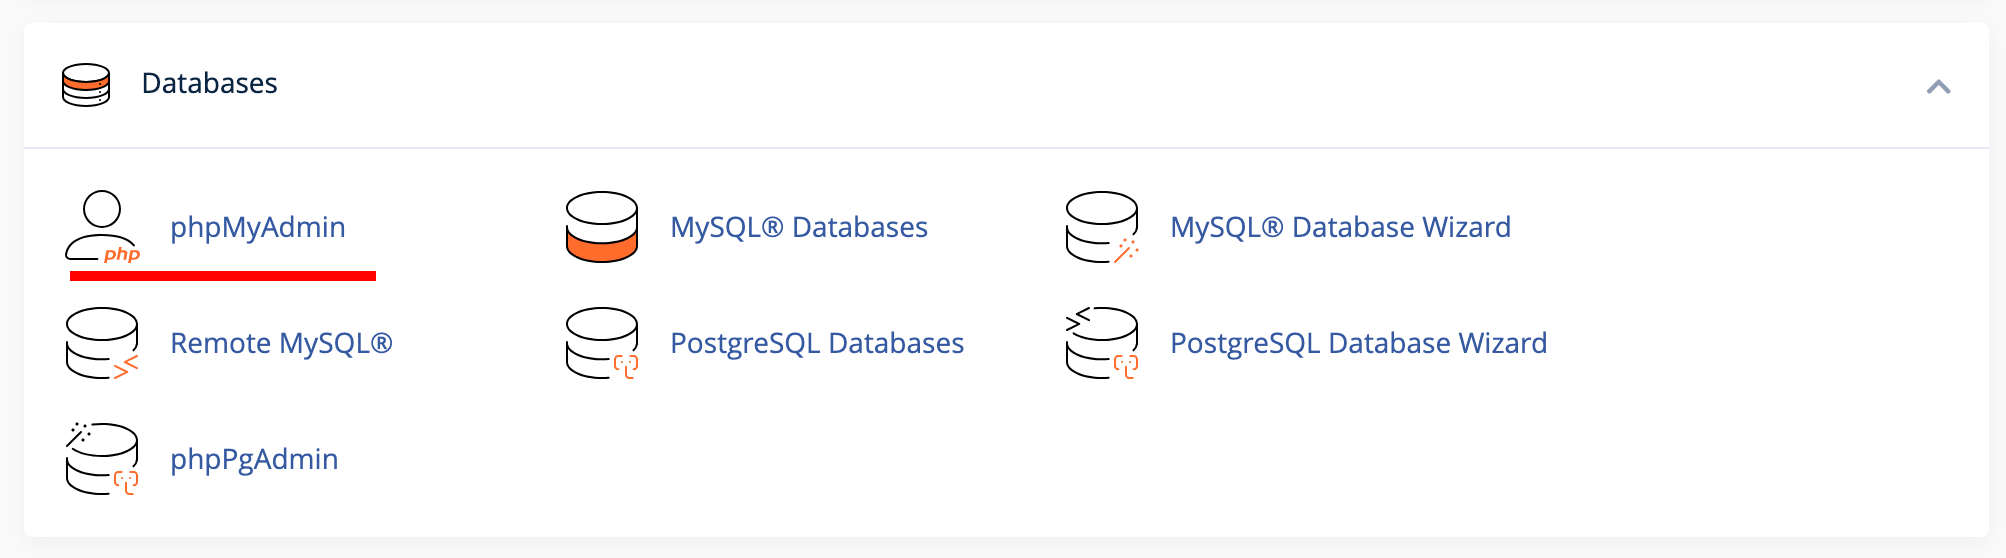
- Navigate to your control panel (cPanel, Plesk, etc.) and find the ‘phpMyAdmin' option.
Step 2: Locate the WordPress Users Table
- In phpMyAdmin, find and click on your WordPress database in the left sidebar.
- Locate the ‘wp_users' table and click ‘Browse'.
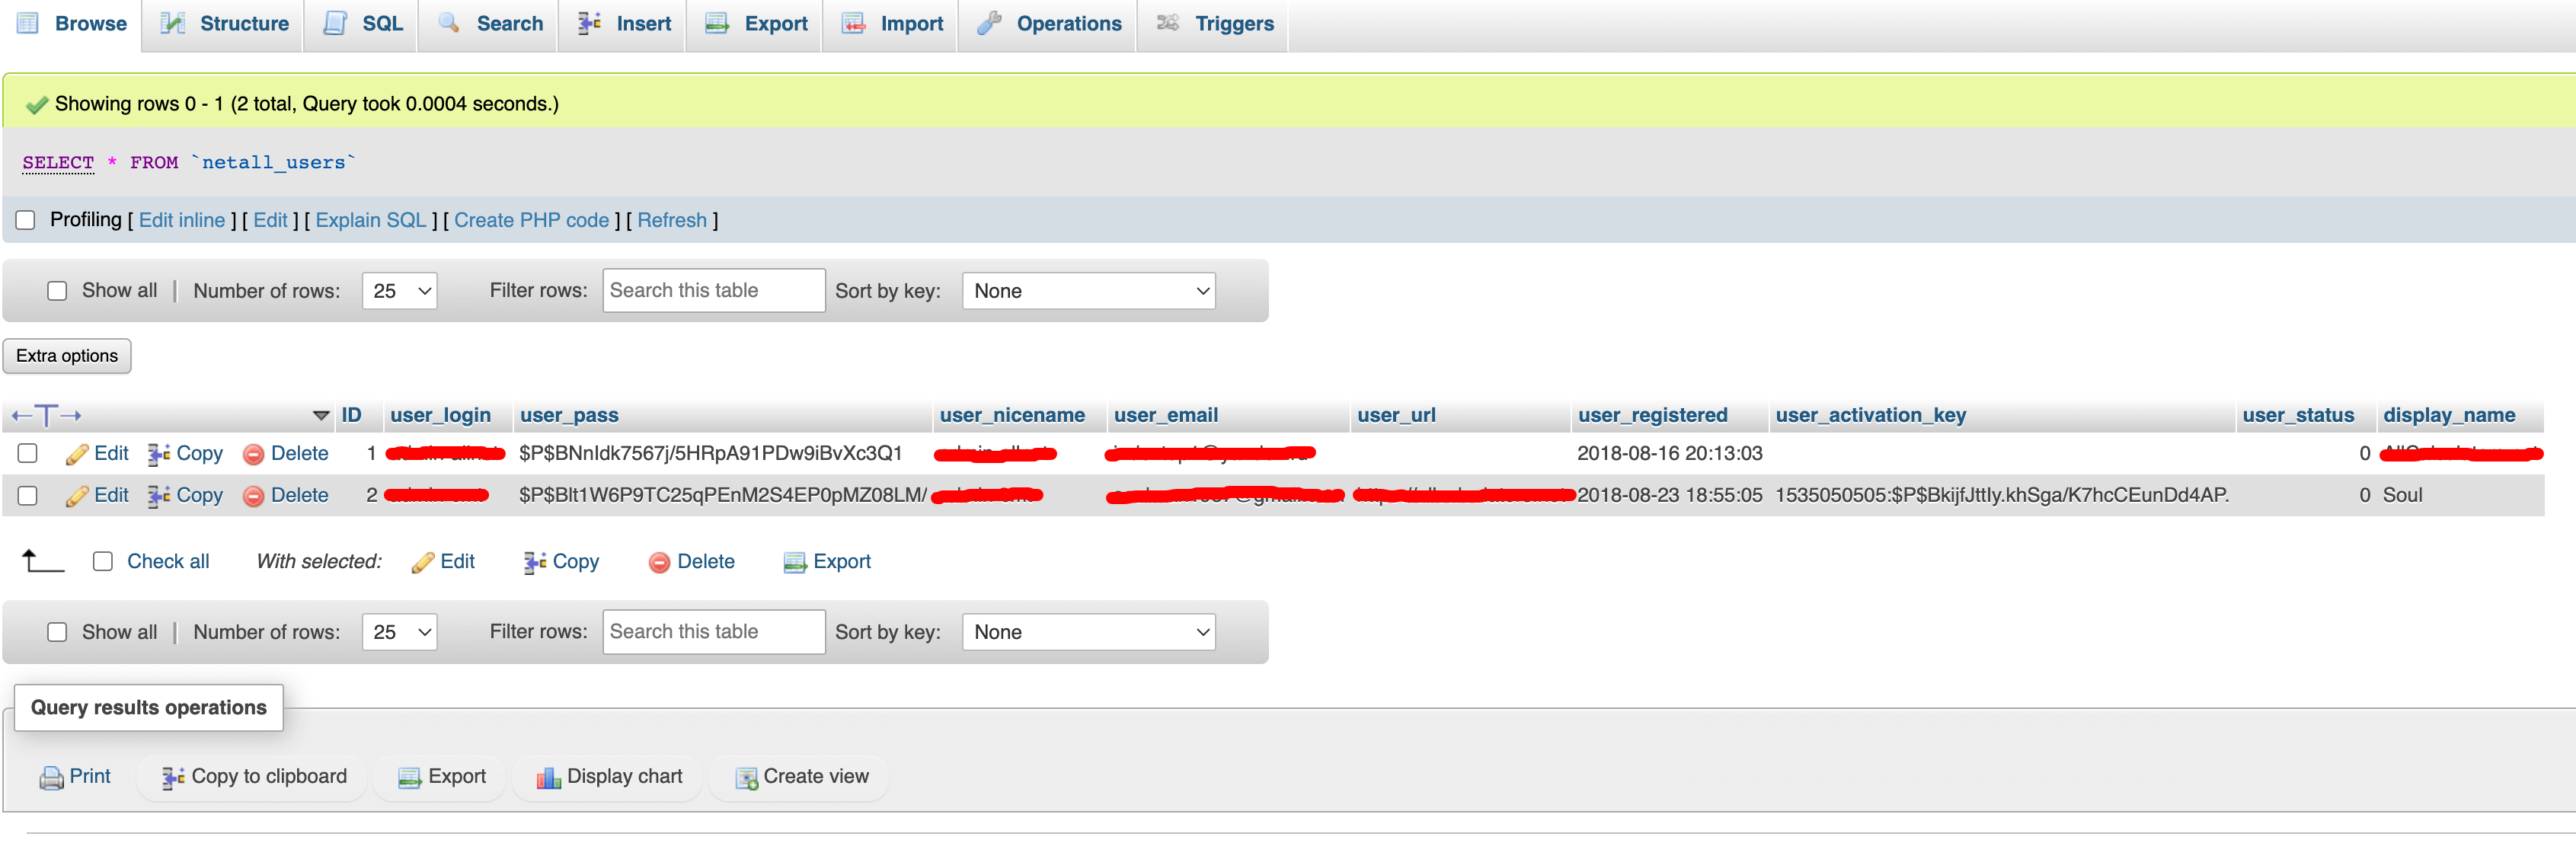
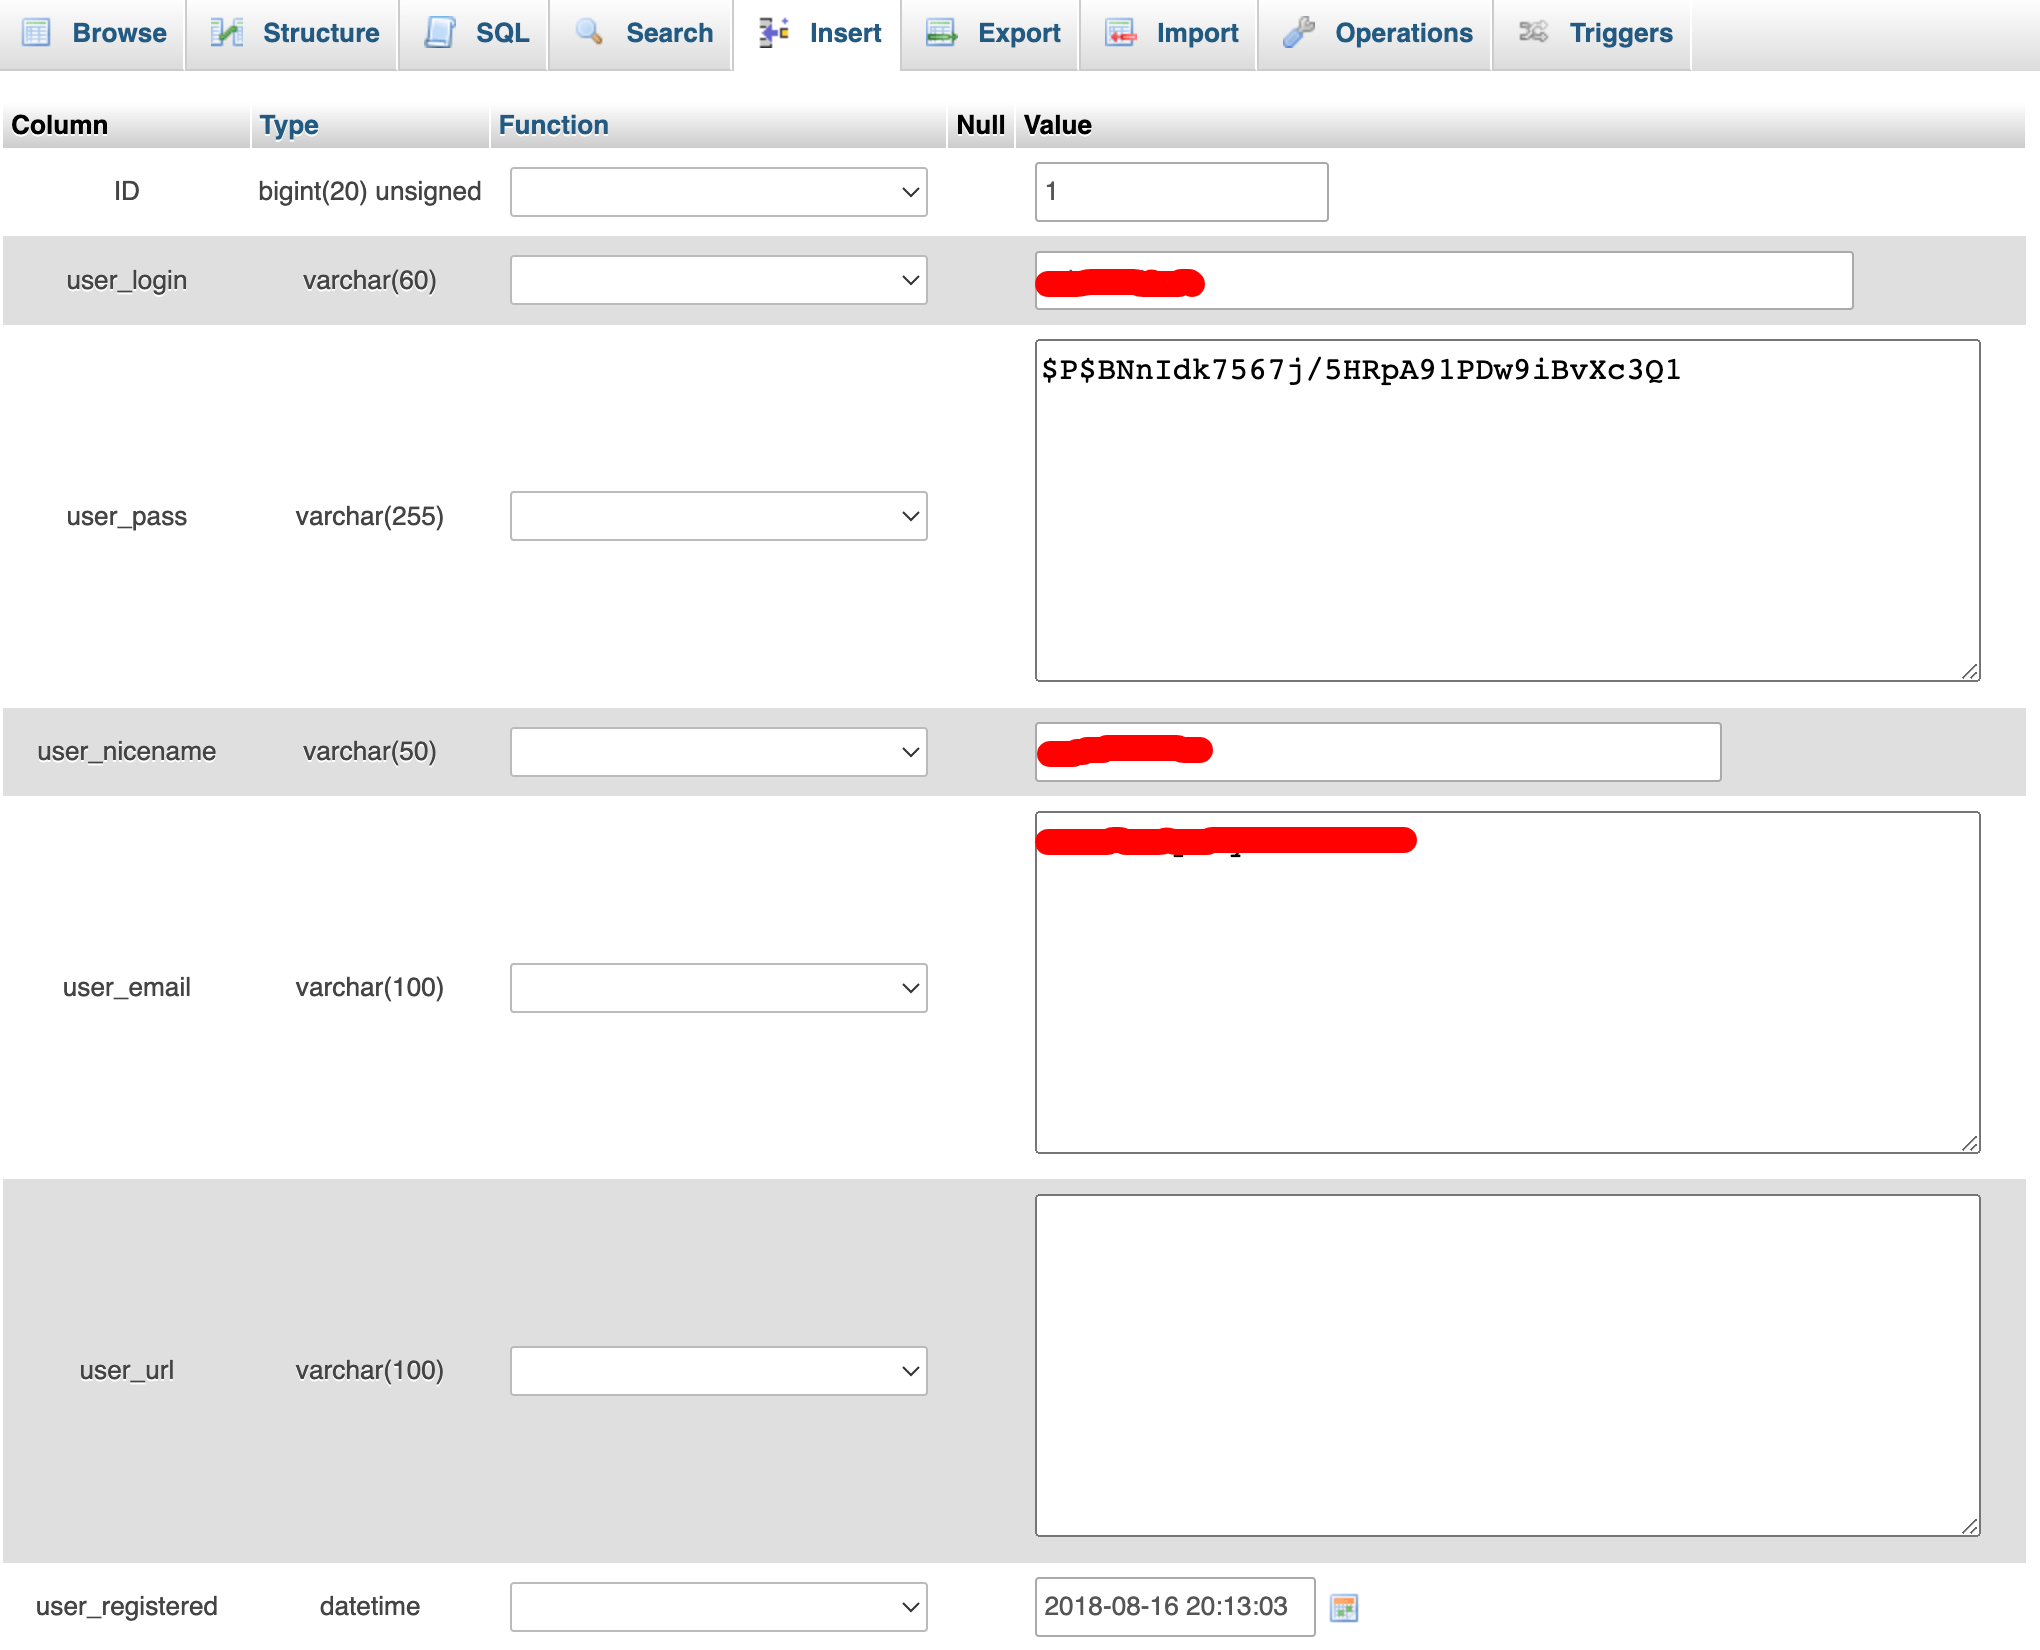
Step 3: Edit the Username
- Find your username in the ‘user_login' column and click ‘Edit'.
- Change the value in the ‘user_login' field to your new username.
- Click ‘Go' to save the changes.
Method 3: Use a WordPress Plugin
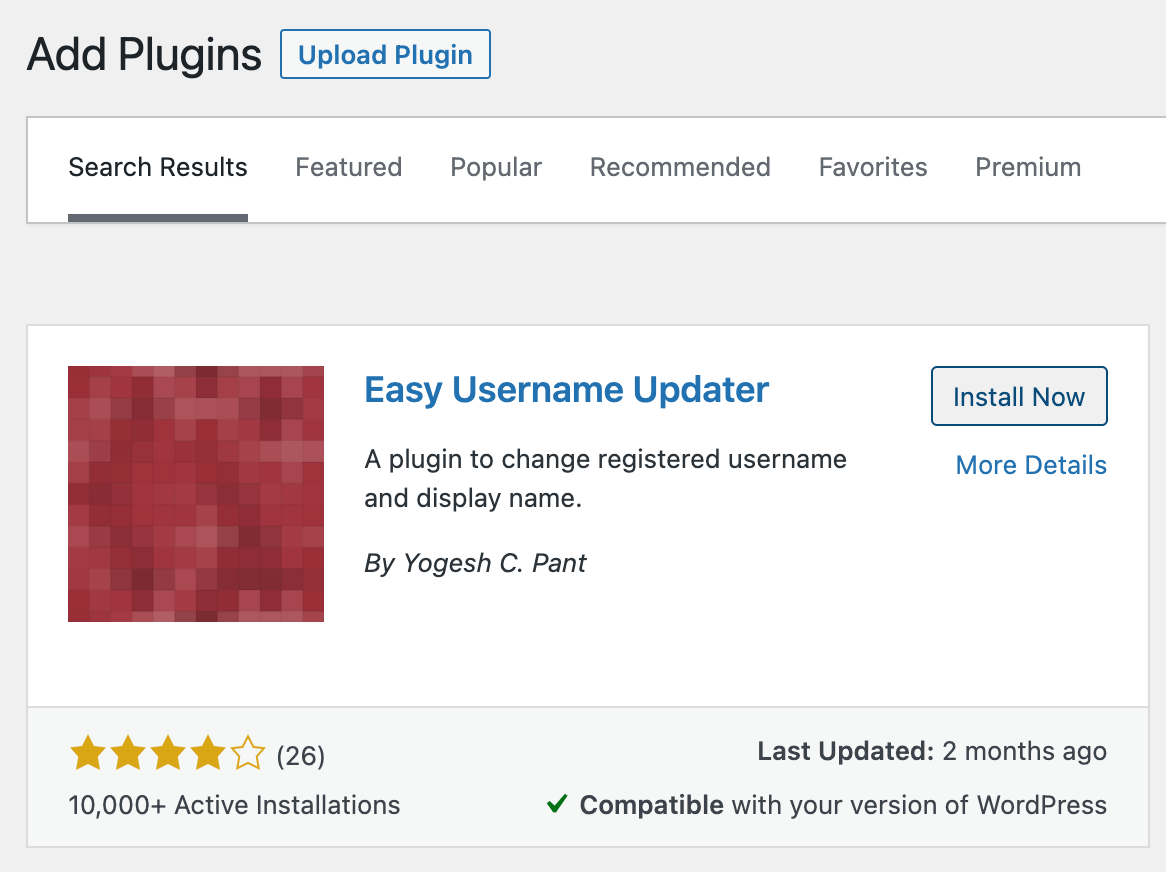
There are several WordPress plugins available that can simplify the process of changing your username. ‘Easy Username Updater' is our choice.
Step 1: Install and Activate the Plugin
- From your WordPress dashboard, go to ‘Plugins' > ‘Add New'.
- Search for the plugin, install it, and activate it.
Step 2: Change the Username
- Navigate to ‘Users' -> ‘Username Updater'.
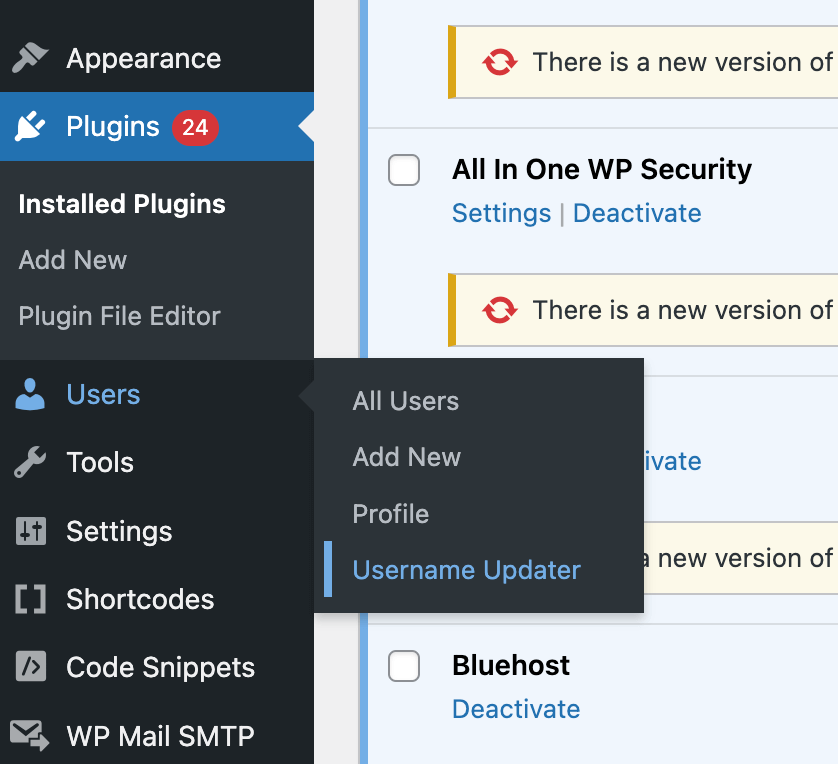
- Find your username and click ‘Update'.
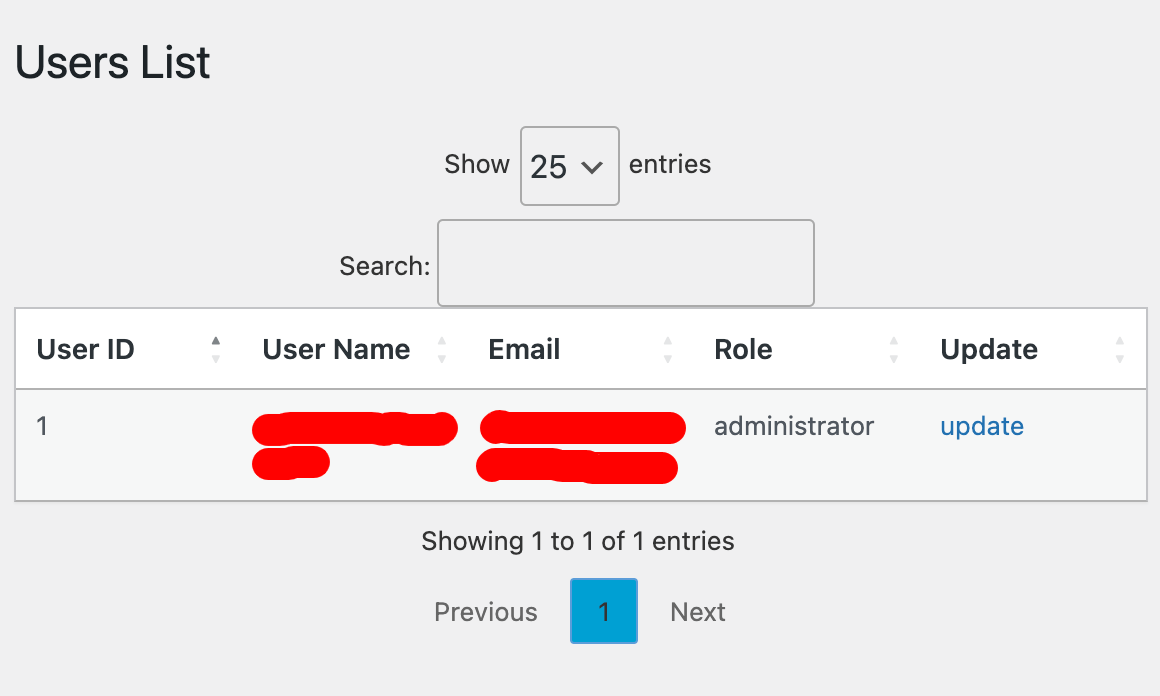
- Enter your new username and confirm the change.
Changing your WordPress username is a simple yet effective way to enhance your website's security. Whether you're comfortable with database operations or prefer a more user-friendly approach, there's a method that suits your needs. Always remember to backup your website before making any significant changes to avoid any potential data loss.


