As the digital landscape continues to evolve, the demand for media-rich content on websites has skyrocketed. However, WordPress, like any other content management system, has default limitations on file upload sizes, hindering users from uploading large files seamlessly. Whether you run a photography blog, a video-centric website, or an online portfolio, increasing the maximum file upload size is essential to accommodate your growing content needs.
In this advanced tutorial, we will delve deeper into the process of enhancing the maximum file upload size in WordPress. We'll explore additional methods, including server-side adjustments and plugin configurations, to provide you with a comprehensive guide on achieving optimal results. So, let's dive in and unlock the full potential of your WordPress site!
Step 1: Analyzing Server Capabilities
Before making any changes, it's vital to understand your server's capabilities and limitations.
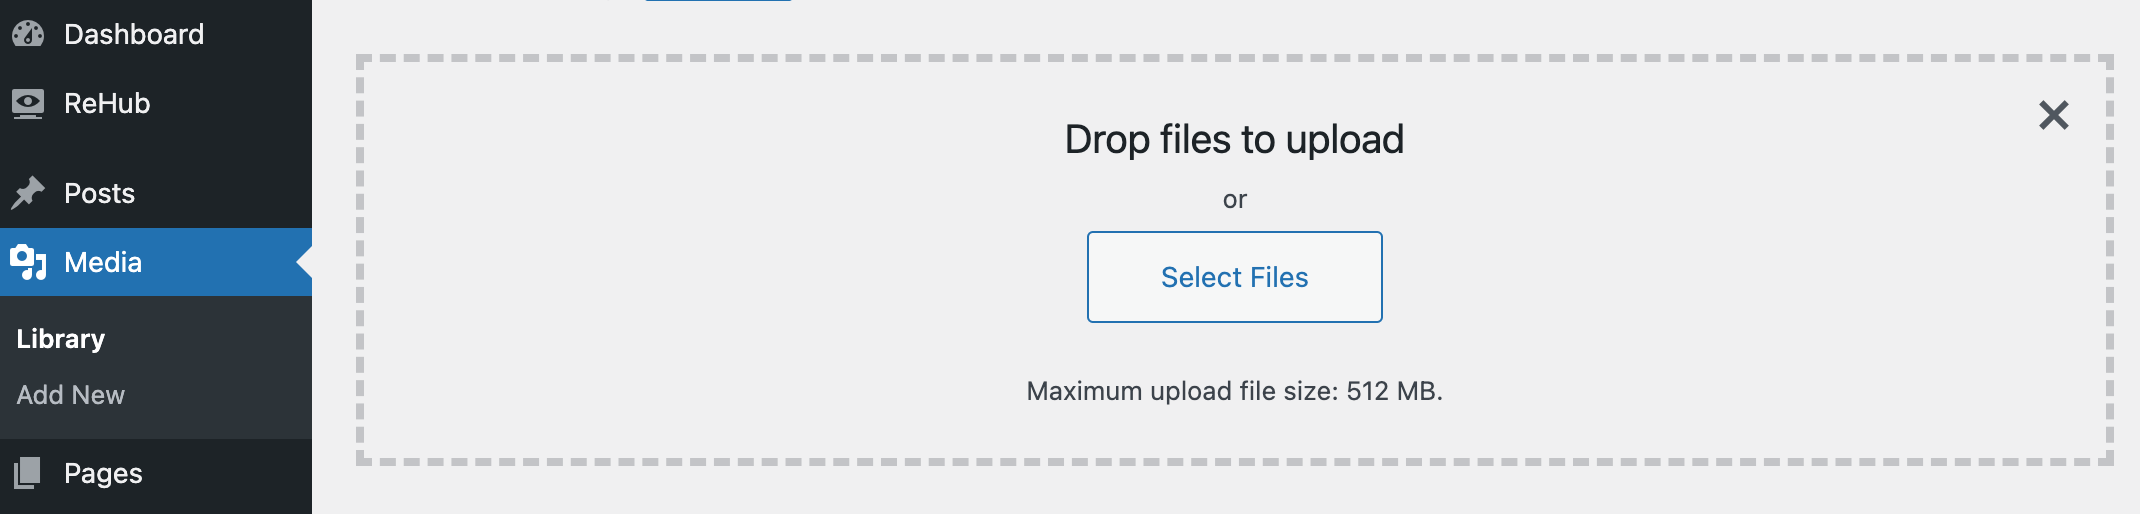
The most straightforward way to check your file upload size limit is through the WordPress Media Library. Follow these steps:
- Log in to your WordPress dashboard.
- In the left-hand menu, hover over “Media” and click on “Add New.”
- You will see the file upload box with a message stating the maximum file size allowed. For instance, it may display “Maximum upload file size: 64 MB. (In our case, 512 MB.)”
Hosting providers often set predefined limits on file upload sizes to prevent server overloads. Get in touch with your hosting company's support team or refer to your hosting documentation to determine the current upload size limit.
Step 2: Modify php.ini
To enable larger file uploads, access the php.ini file on your server. This configuration file governs various PHP settings, including file upload limits. Locate the php.ini file, which is typically found in your server's root or in the “etc” directory.
Once you've located the file, open it with a text editor and find the following lines:
upload_max_filesize = 64M
post_max_size = 64M
memory_limit = 128M
Adjust the values of “upload_max_filesize,” “post_max_size,” and “memory_limit” to your desired size. For example, you can set them to 128MB, 128MB, and 256MB, respectively.
Save the changes and restart your web server to apply the modifications.
Managing a WordPress website becomes more accessible with beginner-friendly cPanel interfaces provided by hosting providers like Bluehost. If your web host offers a cPanel dashboard, you can easily enhance your file upload size using the built-in tools. However, these steps are applicable to most shared hosting providers.
By the way, if you are looking for a good hosting for WordPress we suggest you check out our ranking: TOP 7 Best WordPress Hosting Providers
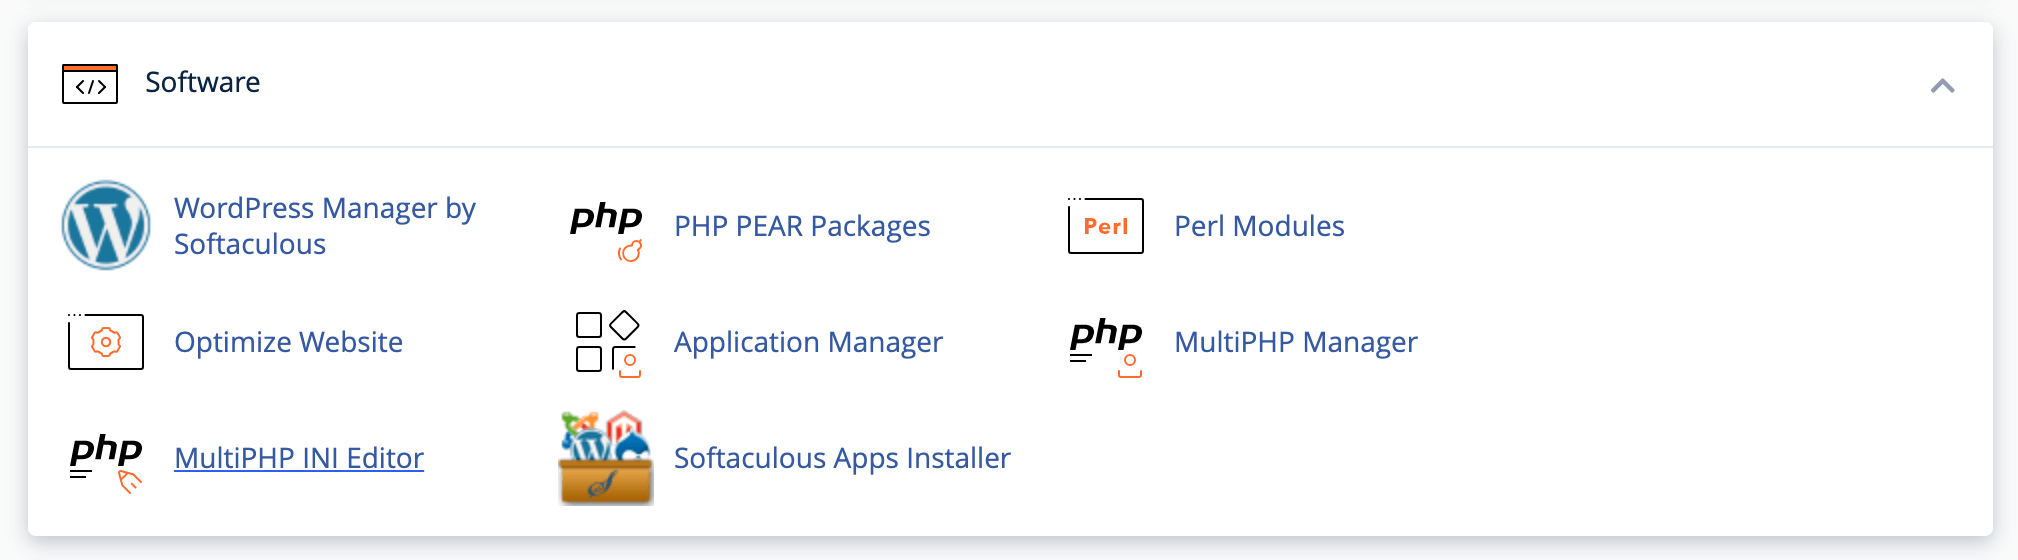
Just log in to your WordPress hosting account and navigate to the cPanel dashboard.
In the cPanel dashboard, locate the ‘Software' section and click on ‘MultiPHP INI Editor.'
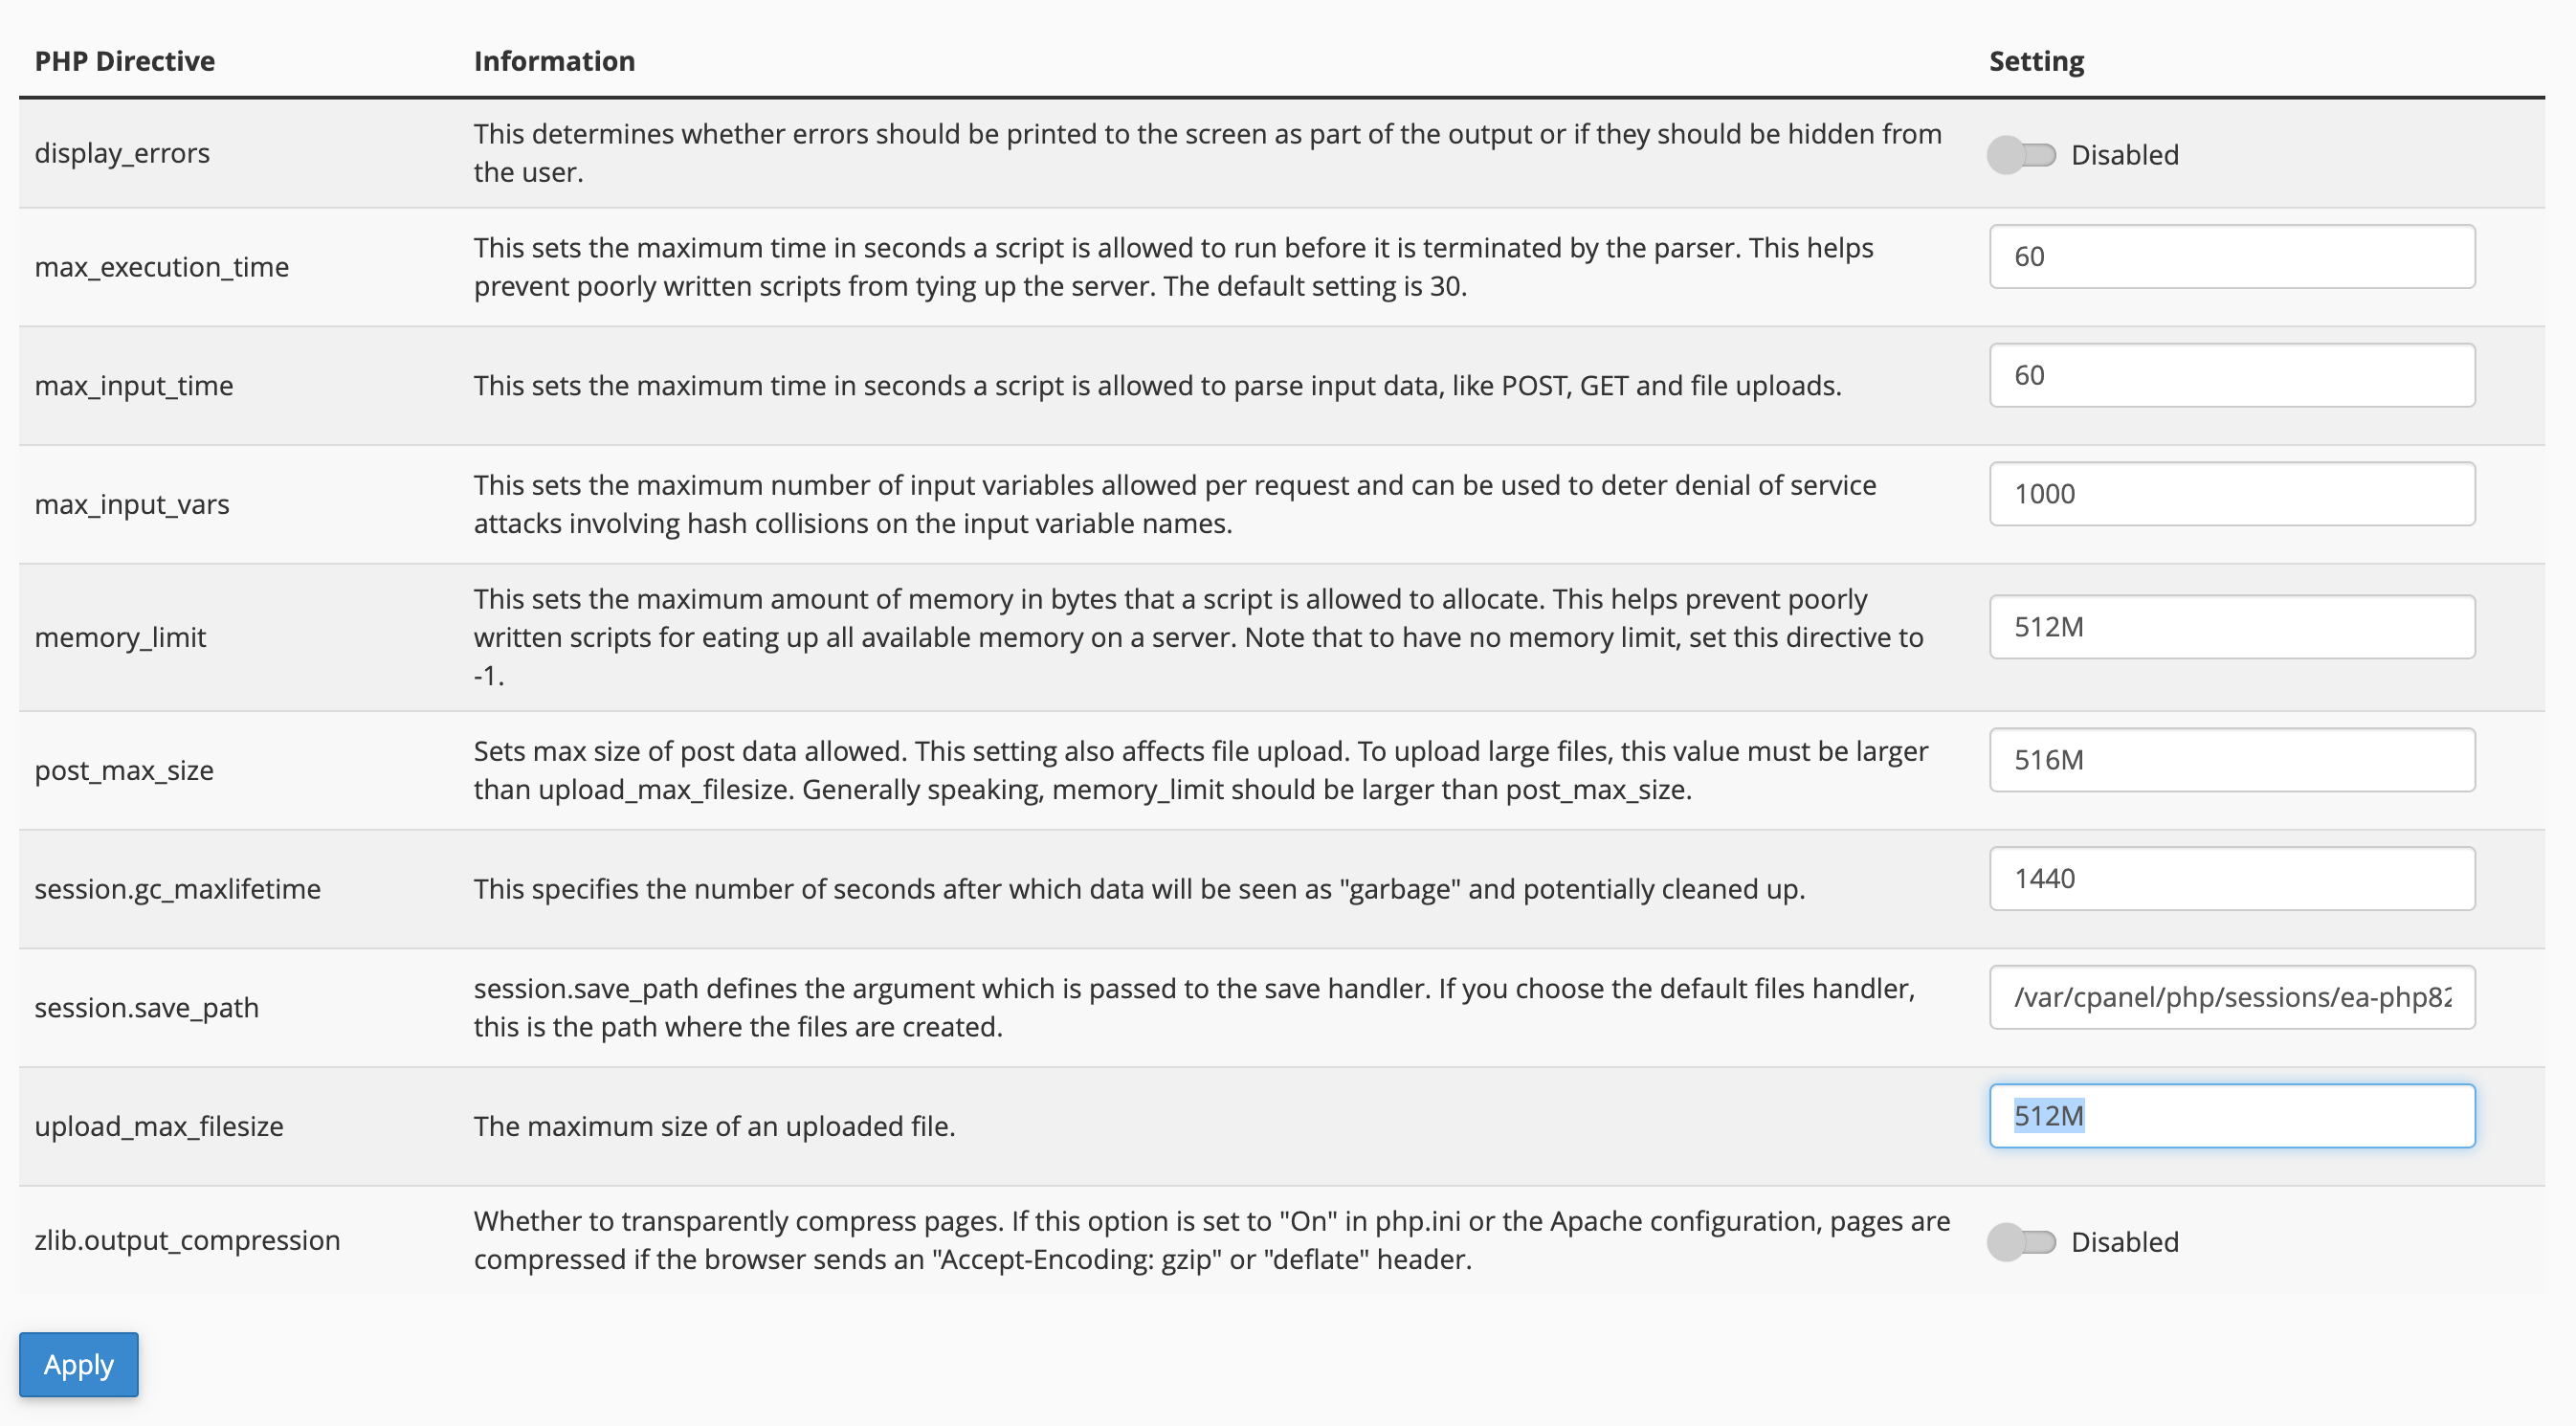
Scroll down in the MultiPHP INI Editor until you find the section labeled ‘upload_max_filesize.' This section dictates the maximum file upload size.
Enter your desired new maximum file size into the provided box and click the ‘Apply' button to save the changes.
Step 3: Using .user.ini (for shared hosting)
If you are on shared hosting, you might not have access to the global php.ini file. However, many hosting providers allow the use of a local .user.ini file, which can override certain PHP settings.
Create a new file named “.user.ini” in your WordPress root directory and add the following lines:
upload_max_filesize = 128M
post_max_size = 128M
memory_limit = 256M
Save the file, and the server should automatically pick up the new settings. Be sure to verify that your hosting provider supports the use of .user.ini files.
Step 4: Plugin Configuration
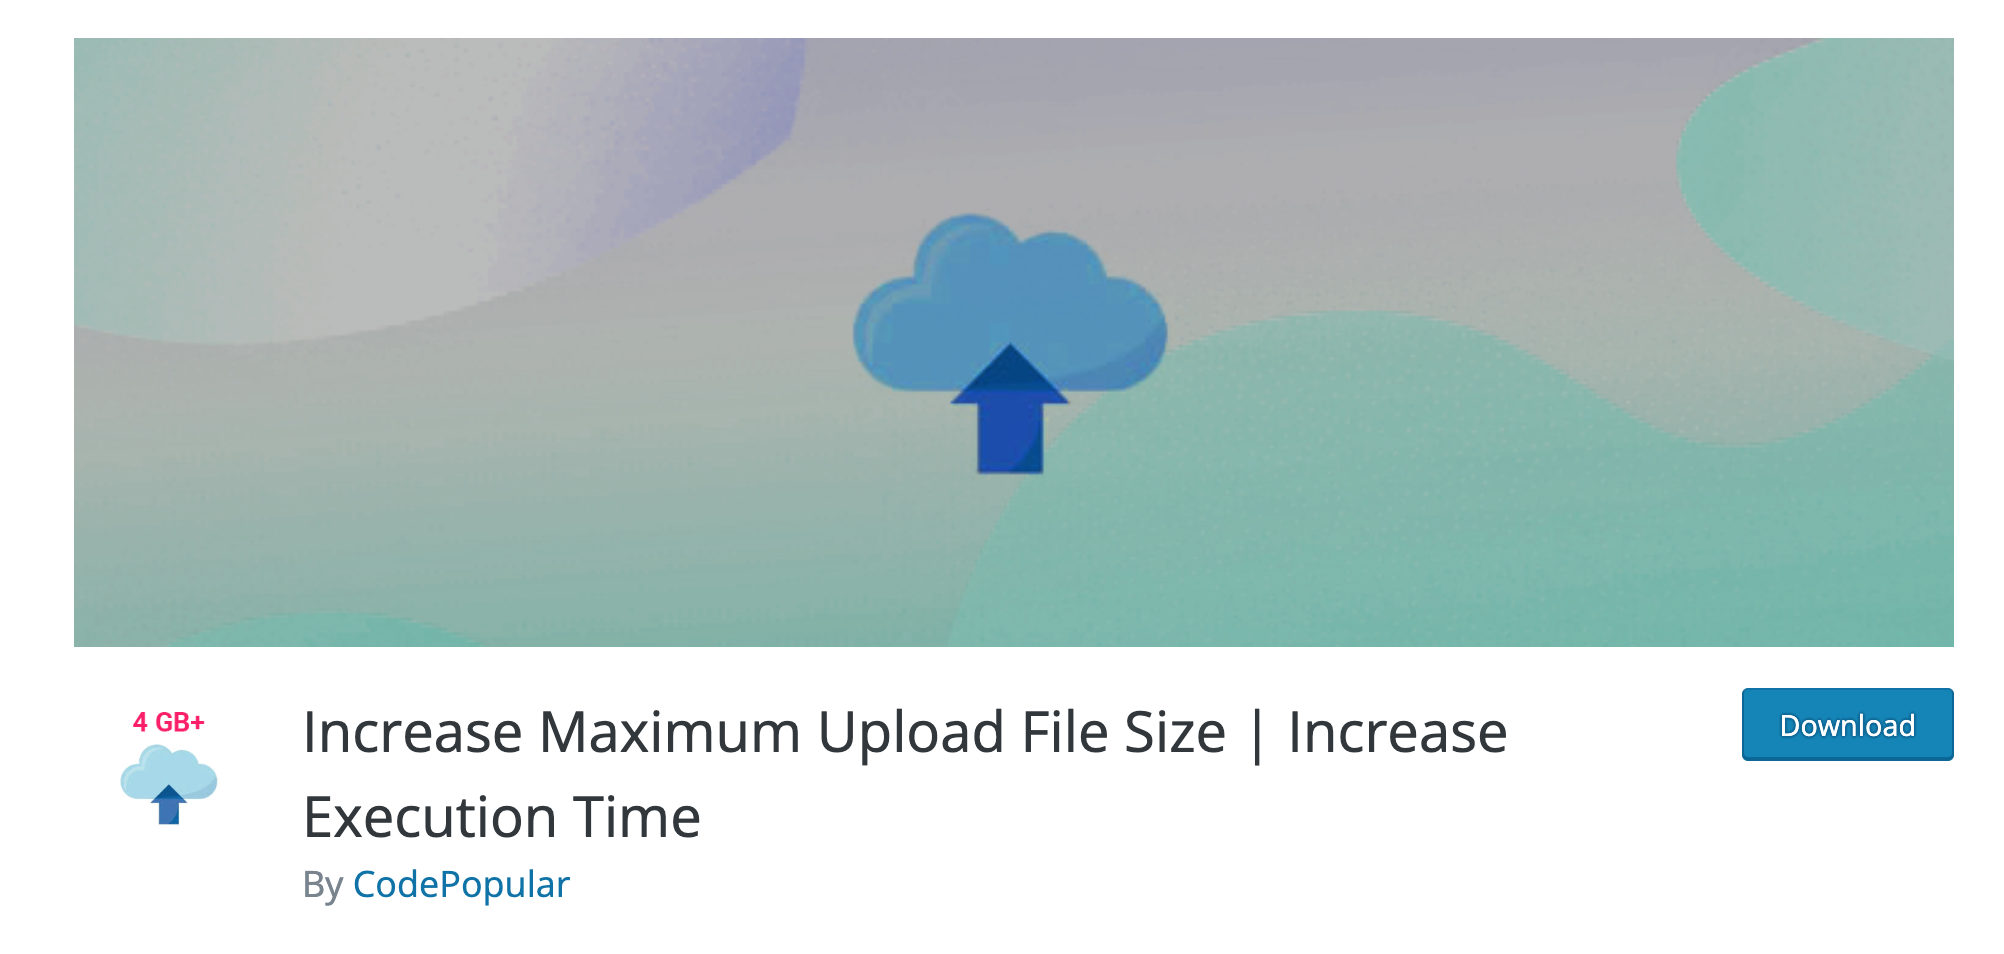
WordPress offers a wide range of plugins that can help you adjust various aspects of your website. One popular option is the “Increase Maximum Upload File Size” plugin. Install and activate the plugin from the WordPress Plugin Repository.
Once activated, navigate to the plugin's settings, where you can set your desired maximum file upload size.
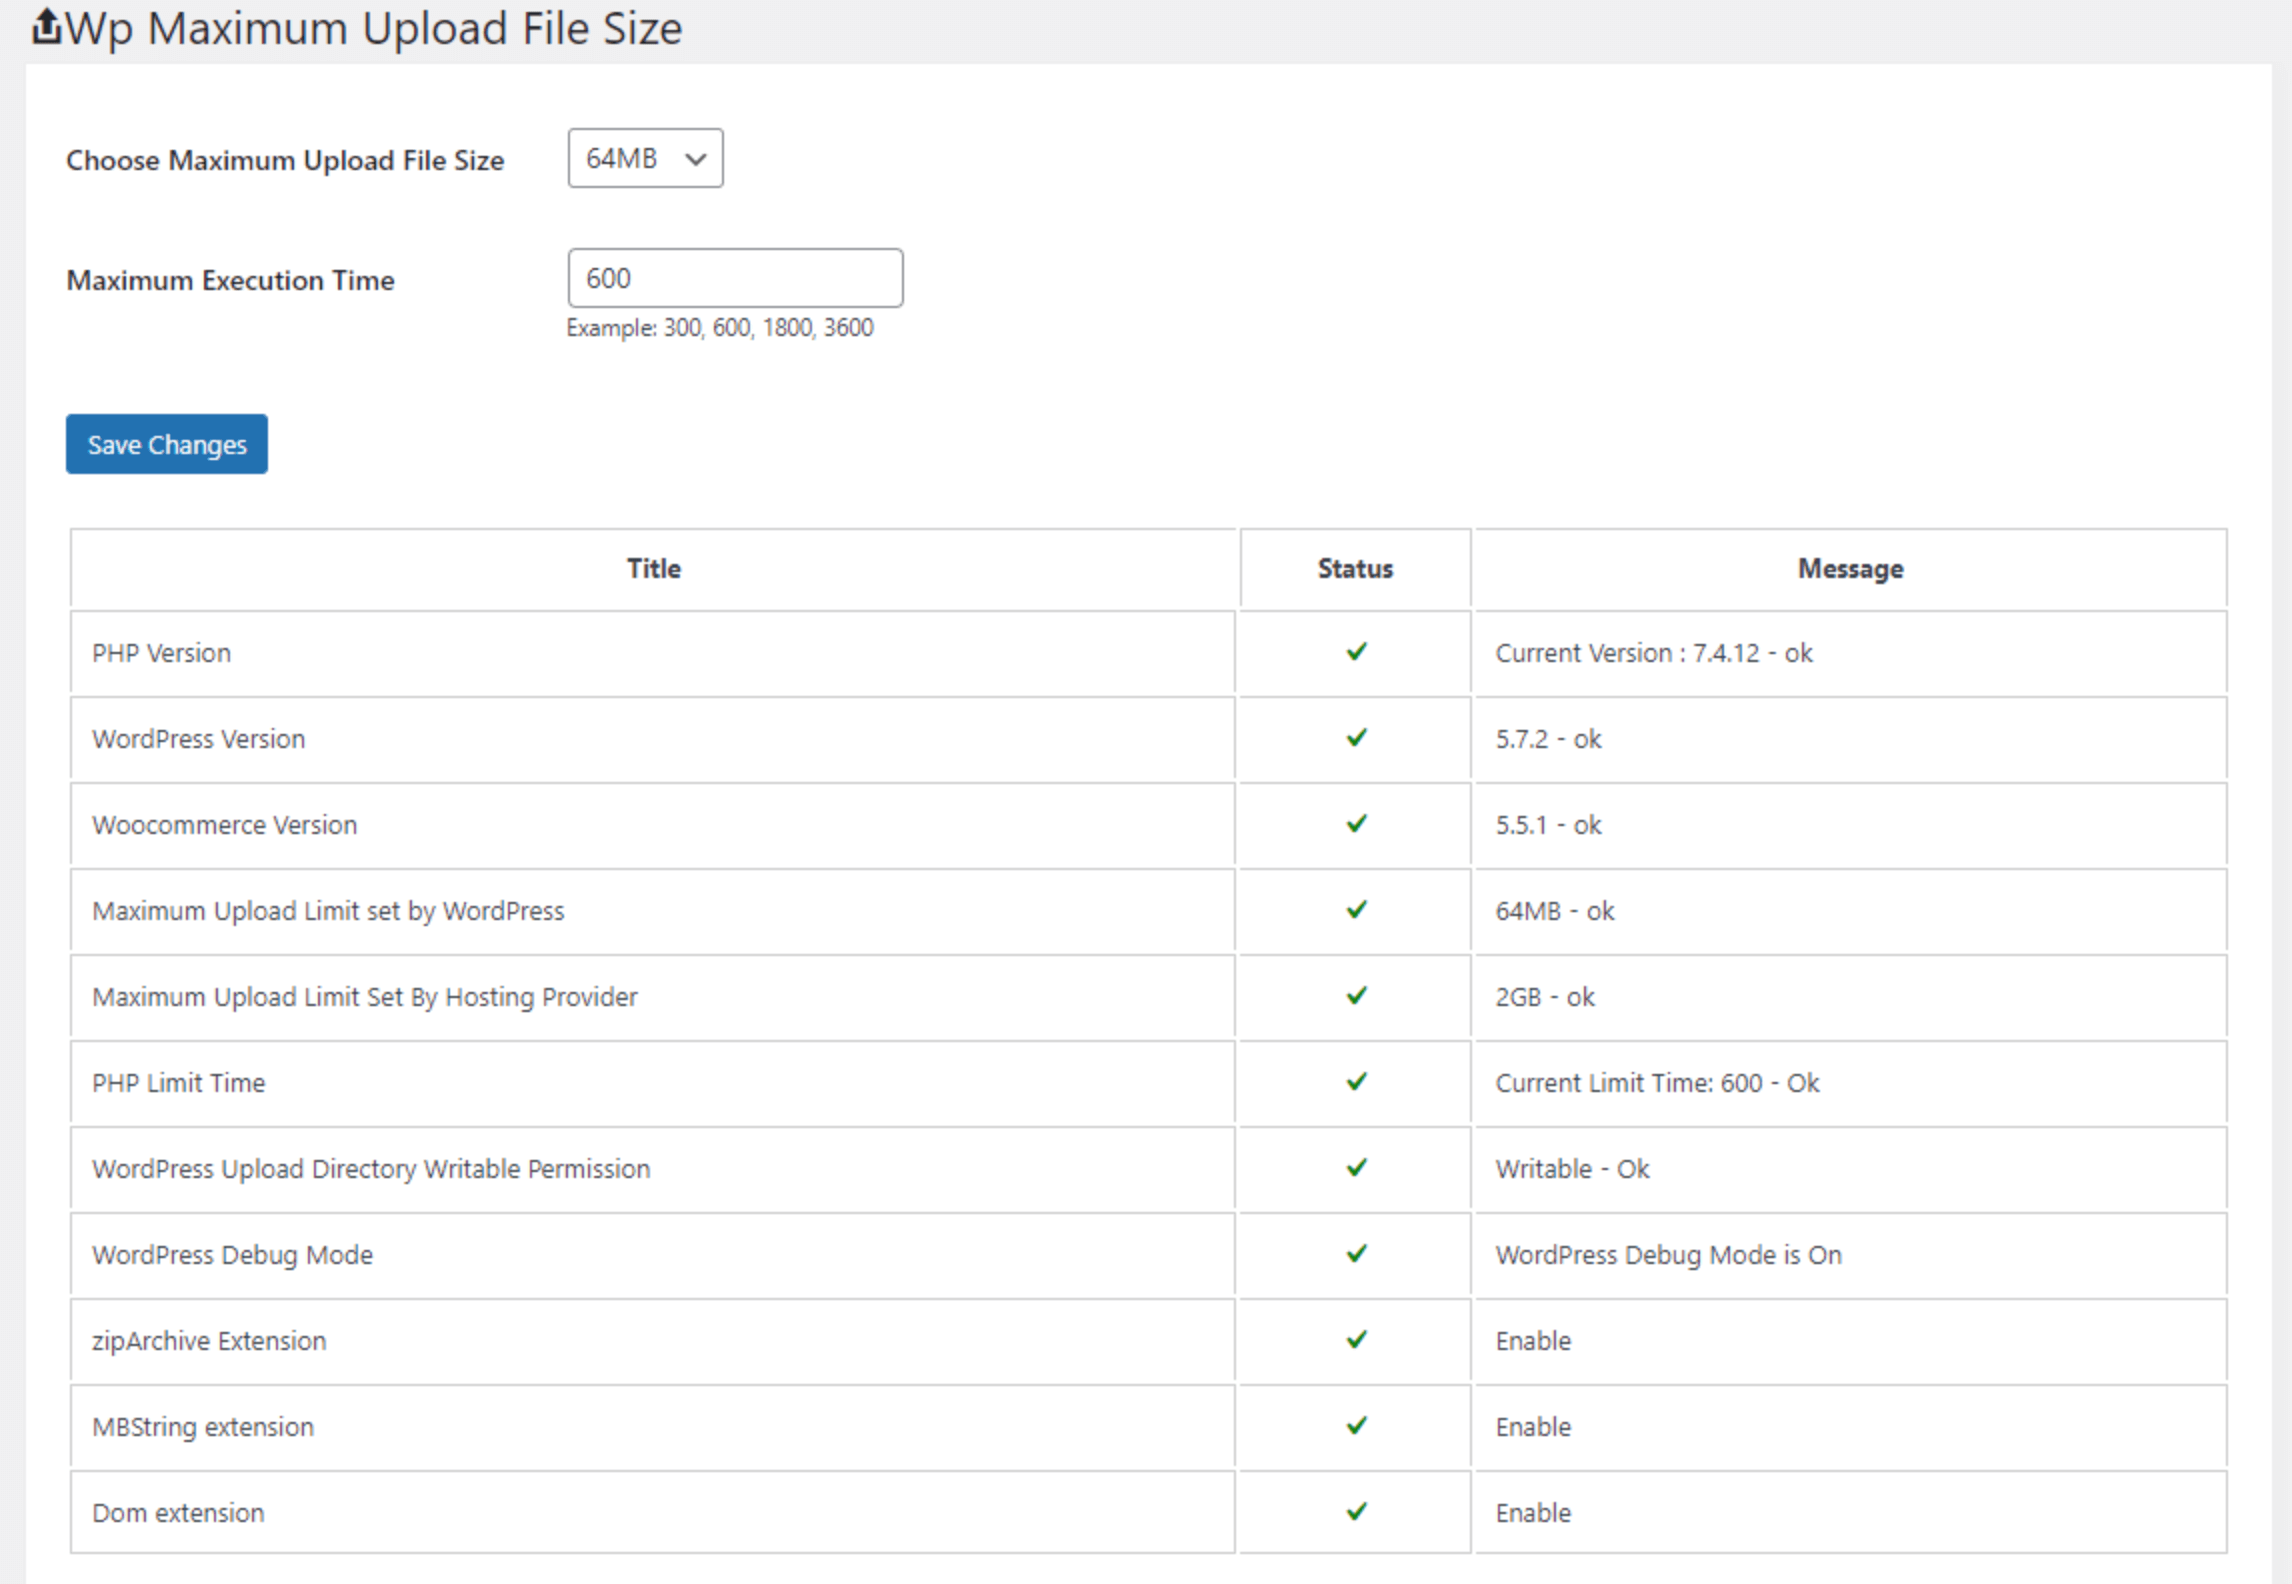
This method is user-friendly and doesn't require any technical knowledge, making it an excellent option for non-technical WordPress users.
Step 5: Manual .htaccess Configuration (for advanced users)
For advanced users, manual .htaccess configuration can offer fine-grained control over your server settings. Locate the .htaccess file in your WordPress root directory and back it up before making any changes.
Add the following lines to the .htaccess file:
php_value upload_max_filesize 128M
php_value post_max_size 128M
php_value memory_limit 256M
php_value max_execution_time 300
php_value max_input_time 300
These settings will boost the maximum file upload size to 128MB, post size to 128MB, memory limit to 256MB, and execution and input time to 300 seconds.
Save the changes, and remember to verify if your server configuration supports manual .htaccess overrides.
Conclusion:
Congratulations! You've successfully explored advanced techniques to enhance the maximum file upload size in WordPress. By adjusting server-side settings through php.ini or .user.ini and leveraging plugins or .htaccess configurations, you've unlocked the full potential of your WordPress website to handle large media files.
Remember, understanding your server's capabilities and consulting with your hosting provider are crucial steps before making any adjustments. By implementing the techniques outlined in this comprehensive guide, you're better equipped to meet the growing demands of media-rich content and provide an exceptional user experience to your audience.
Now, go ahead and embrace the possibilities of a larger file upload size, enabling your website to showcase stunning visuals, captivating videos, and engaging multimedia content like never before!


